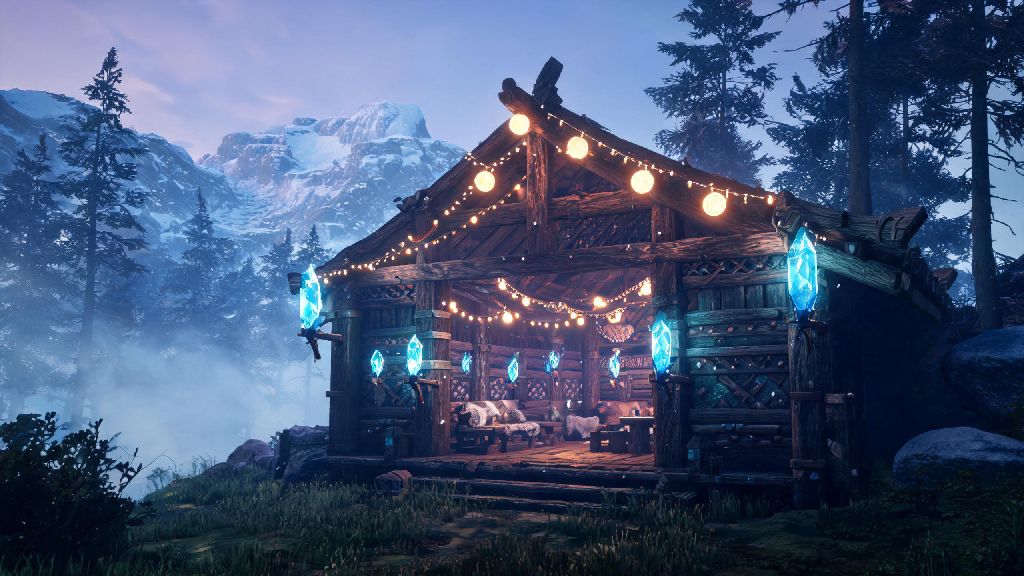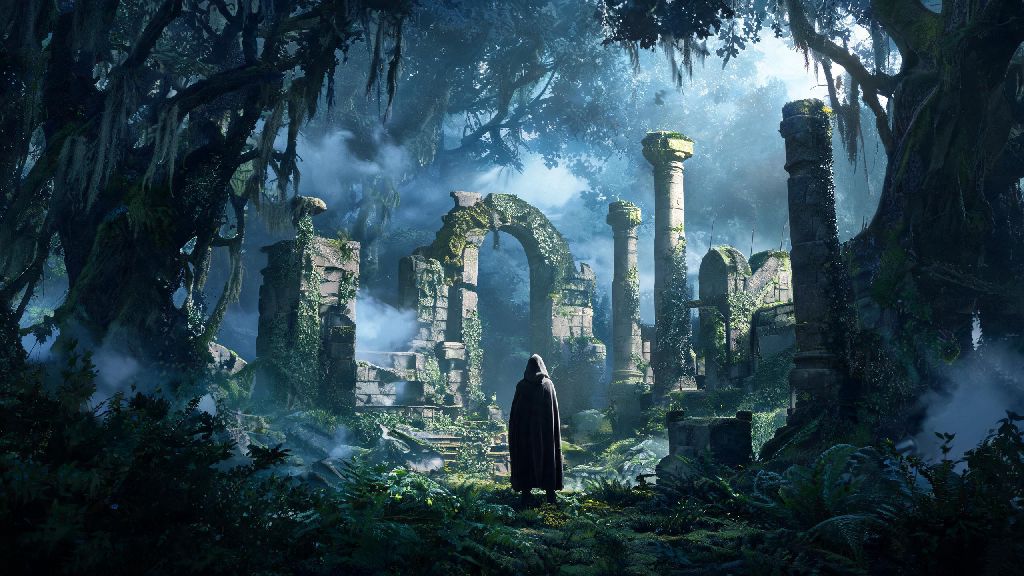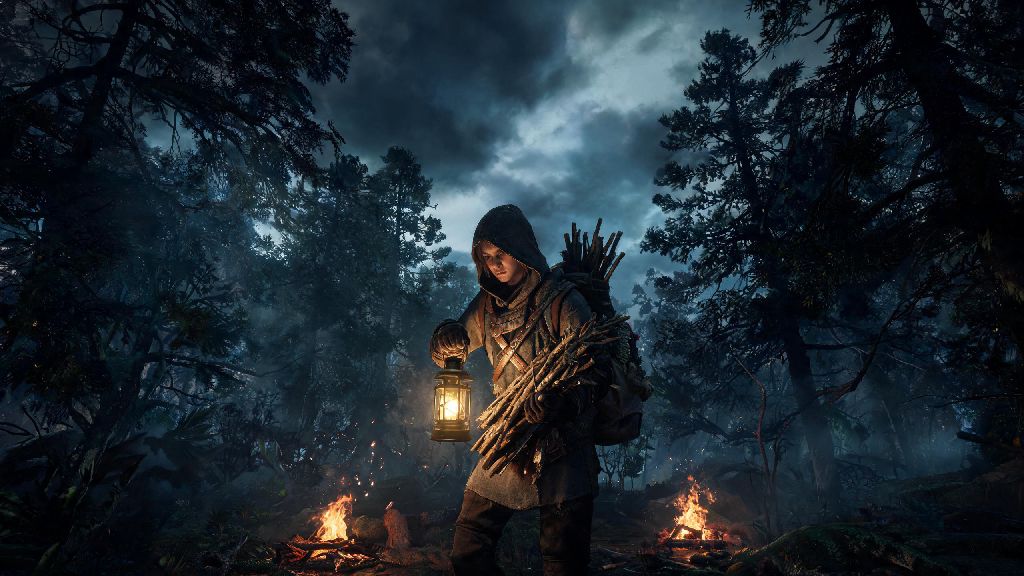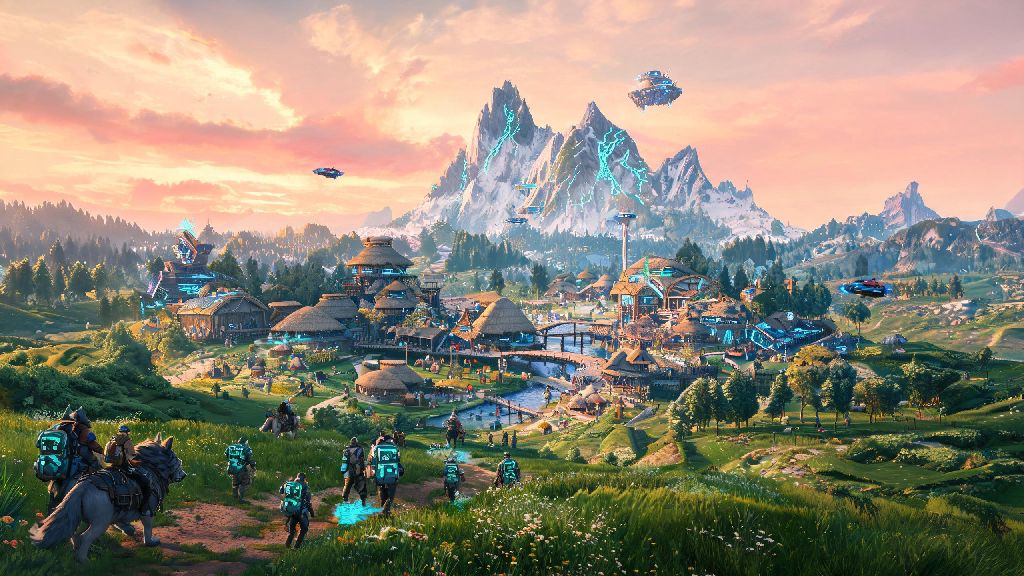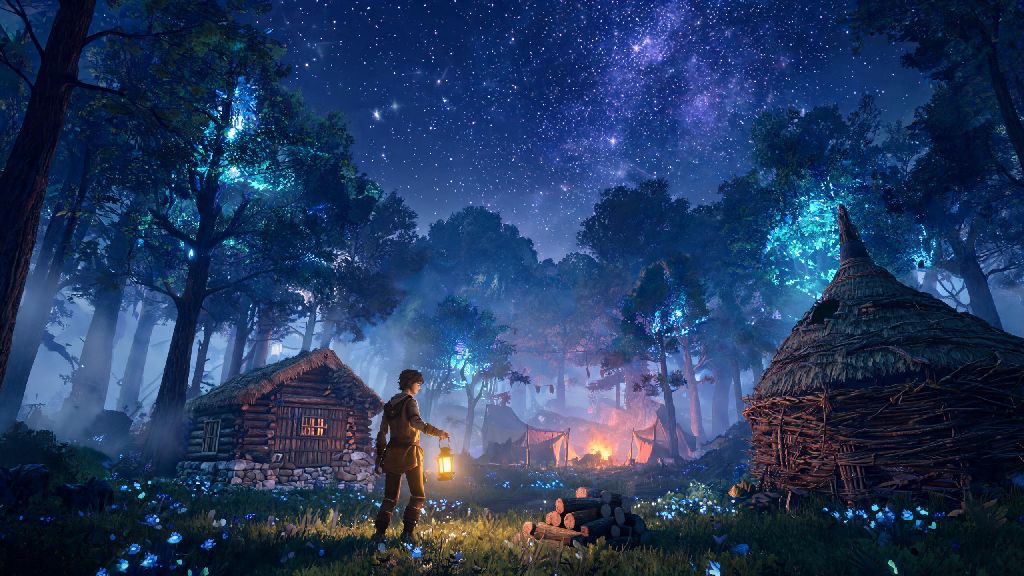
If you’ve spent any time scrolling indie game forums or gaming TikTok feeds lately, you’ve almost certainly seen clips of the atmospheric, open-world survival experience that is the Lights No Fire Game. Unlike generic survival titles that force you to grind for resources 24/7, this game balances quiet exploration, creative building, and gentle conflict to create an experience that feels equal parts calming and thrilling. I’ve put 120+ hours into the game since its full launch, testing everything from solo playthroughs to 8-person co-op servers, and I’ve compiled all the most useful lessons I learned along the way to help you skip the frustrating learning curve. Whether you’re booting it up for the first time this weekend or you’re 20 hours in and still struggling to keep your base safe, these tips will help you get way more out of every play session.
Core Mechanics of the Lights No Fire Game You Should Learn First
A lot of new players skip the short opening tutorial to jump straight into exploration, and that’s almost always a mistake. The game has a few unique systems that work very differently from other survival titles, and misunderstanding them leads to hours of unnecessary frustration. Light embers are the most valuable non-combat resource in the game, and you should never waste them on low-value items like disposable torches. They power all your permanent light sources, repair protection shrines, and even let you calm hostile shadow creatures instead of fighting them.
You also want to pay attention to the hidden warmth decay system, not just the temperature number displayed on your HUD. If you’re exploring a swamp or a windy mountain pass, your warmth bar will drop 2x faster than the temperature reading suggests, even if you’re wearing heavy armor. I learned this the hard way when I got caught in a rainstorm 20 minutes from my base and froze to death despite wearing a full fur armor set. Don’t skip crafting a waterproof cloth wrap in your first hour of play, it takes 5 pieces of cotton and will save you from dozens of unnecessary deaths.
Many new players also ignore the respawn penalty system until they lose a full inventory of rare resources. If you die in an area you haven’t marked on your map, your dropped loot will despawn in 20 minutes instead of the standard 1 hour. Always place a temporary map marker whenever you go exploring a new area, even if you think you’ll remember the way back.
How to Build a Safe, Functional First Base in 30 Minutes or Less
It’s tempting to spend your first few hours building a pretty, elaborate base with custom walls and decorative plants, but that’s a waste of resources when you’re still vulnerable to the first blood moon event. Your first base only needs to cover basic needs, and you can expand it once you have a steady supply of embers and building materials. Never build your first base directly next to a large body of water, as amphibious shadow creatures can spawn from the water and bypass most of your early defenses.
The ideal first base spot is on a small elevated hill, within 500 meters of a neutral deer tribe camp and at least 2 ember veins. The deer tribe will fend off small shadow creature raids for you if you don’t provoke them, and easy access to embers means you won’t run out of protection during dark nights. When you’re ready to build, prioritize these 3 structures first:
You don’t need to build wooden walls for your first base. Ember stakes cost 1/3 of the resources of wooden walls, and they deal minor fire damage to any shadow creature that touches them. I used ember stakes for my first 30 hours of play, and they stopped every small raid without any repairs needed. A fun little trick I stumbled on by accident: planting a few berry bushes near your base entrance will attract friendly fox NPCs, who will leave free embers as gifts every few in-game days. I got 32 free embers this way in my first playthrough, which cut my ember grind time in half.
Common Beginner Mistakes That Wasted 20+ Hours of My Playtime
I made almost every possible mistake in my first playthrough, so you don’t have to. The biggest mistake I see new players make is wasting embers on permanent torches around their base. Permanent torches use 1 ember each and only cover a 5-meter radius, which is incredibly inefficient. Invest in 2 or 3 portable ember lanterns instead. You can hang them on stakes when you’re at base, carry them with you when you explore, and they never run out of light as long as you add 1 ember every 10 in-game days. I wasted 27 embers on permanent torches in my first week, and I didn’t have enough left to repair my protection shrine when the first blood moon hit, so my entire base got destroyed.
Another common mistake is ignoring neutral faction quests. A lot of new players think the quests only give small amounts of gold or basic resources, so they skip them entirely. But if you raise your reputation with the deer tribe to level 3, they’ll give you a free eternal ember that never runs out. Place that in your base, and you’ll never have to worry about small shadow creature raids again. That reward is more valuable than any loot you’ll get from fighting the first 3 main bosses.
Don’t travel alone at night before you have a tier 2 fire weapon, either. Shadow creatures deal 3x more damage after dark, and they run faster than your default walking speed. I died 7 times trying to get back to my base after dark before I learned to start heading home 10 minutes before the sun sets if I’m alone. If you do get stuck out after dark, climb on top of a large flat rock. Shadow creatures can’t climb vertical surfaces, so you can wait out the night safely without wasting healing items or risking losing your loot.
Tips for Fun Co-Op Play If You’re Joining a Friend’s Server
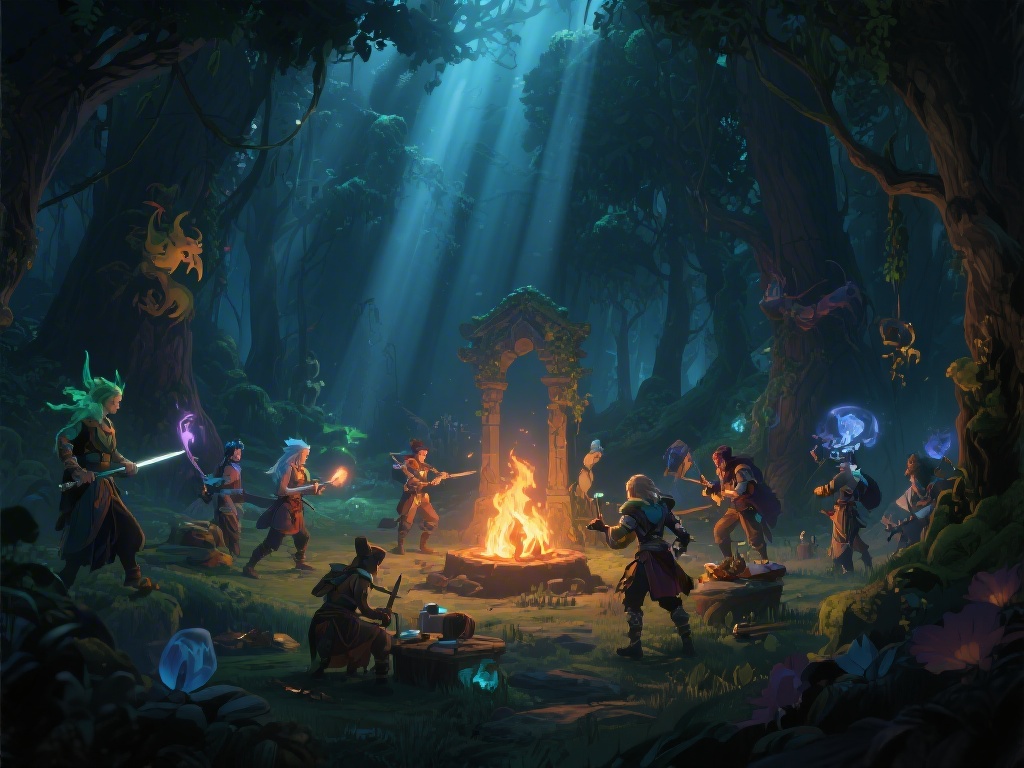
The Lights No Fire Game is even more fun with friends, but there are a few unwritten rules you should follow to avoid getting kicked from public or private servers. First and foremost, always ask before taking resources from shared storage chests. Most servers have separate chests for community resources and personal items, and taking rare materials like embers or eternal flame shards without asking is the fastest way to get banned. If you’re new to the server, ask the admin what the resource sharing rules are before you start rummaging through chests.
If you’re a new player joining a more experienced group, don’t volunteer to be the first person to attack a boss. Bosses lock their aggro on the first player that hits them, and if you die mid-fight, the boss will immediately head straight for the nearest base to destroy it. Let more experienced players with tier 3 armor pull aggro, and stick to supporting roles like throwing fire bombs or healing teammates until you’re comfortable with the boss fight mechanics.
One of the best hidden perks of co-op play is the community shrine you can build with 30 combined embers from all players on the server. This shrine gives all players on the server a 20% extra resource drop rate, which cuts down grind time for everyone. My friend group built one on our server a week after we started playing, and we collected enough resources to build a full castle in half the time it would take in solo play. Just keep in mind that co-op play also has downsides: the number of shadow creatures that spawn scales with the number of players on the server, so you’ll need more embers for base protection than you would in solo mode. Don’t invite random strangers to your server unless you trust them, because they can easily lead a horde of high-level shadow creatures straight back to your base.
At the end of the day, the best part of the Lights No Fire Game is that there’s no wrong way to play. You can spend 100 hours just building and exploring without fighting a single boss, or you can speedrun the main storyline in 10 hours if that’s what you enjoy. The tips I shared here are just meant to help you avoid the most frustrating parts of the learning curve so you can focus on the parts of the game that matter most to you. If you have your own favorite trick that I didn’t mention, drop it in the comments below to help other players out.