If you’ve dug out your trusted old first-generation Kindle Fire for a weekend trip or casual reading session, only to plug it in and see zero signs of life, you’re dealing with the common kindle fire 1 not charging no light issue that affects many well-loved older units. I’ve fixed more than 20 of these devices for friends, family, and local community members over the past decade, so all the steps shared below are tested in real-world scenarios, not pulled from random manufacturer support pages. You won’t need fancy tools or technical training for 90% of these fixes, and most cost nothing to try.
Common Causes of Kindle Fire 1 Not Charging No Light Problems
Before you jump into troubleshooting, it helps to understand what’s actually going wrong with your device. The first-gen Kindle Fire was released in 2011, so even well-cared-for units have components that degrade over time, or accumulate small issues that build up to a total lack of power response. Most of these issues don't require replacing your device, so don’t throw it away just yet.
The most frequent causes include deeply discharged batteries, which happen if the device is left unused for months or years without a charge. Dust and lint buildup in the charging port is another top culprit, as it blocks the connection between your cable and the device’s internal pins. Faulty charging accessories, temporary firmware glitches, and worn-out charging ports round out the top 5 causes I see regularly.
In very rare cases, the issue stems from a damaged internal charging circuit, which is usually caused by drops, exposure to liquid, or using an incompatible high-voltage charger. Even then, you can usually repair it for less than the cost of a new budget e-reader if you’re comfortable with basic DIY work.
Quick Pre-Checks to Run Before Deep Troubleshooting
These three 60-second checks will rule out the most common causes of the issue before you spend time on more involved steps. I always start with these when someone brings me a non-responsive Kindle Fire 1, and they fix the issue almost a third of the time immediately.
- Test your charging cable and wall brick with another device to rule out faulty accessories first
- Wipe down the charging port on your Kindle Fire 1 with a dry, soft toothbrush to remove lint and dust buildup
- Plug the device into a different wall outlet, as faulty outlets are a common overlooked cause
Never use sharp metal objects to clean the charging port, like paper clips or pocket knives, because you can scratch the internal copper pins and cause permanent damage to the charging connection. If you see caked-on dust that won’t come out with a toothbrush, use a small amount of compressed air held 6 inches away from the port to blow it loose. I’ve seen devices that were stored in a purse for two years have enough lint packed in the port to completely block the cable from seating properly, and a quick cleaning got them charging again instantly.
If none of these pre-checks work, move on to the more targeted fixes below.
Step-by-Step Fixes for Unresponsive First-Gen Kindle Fire
The first fix to try is the trickle charge method, which addresses the super common deeply discharged battery issue. The first-gen Kindle Fire’s battery management system is programmed to refuse high-power charging if the battery drops below 1% charge, because it can damage the battery cells. That means even if you use a brand new fast charger, the device won’t pull any power at all, so no charging light turns on.
To do a trickle charge, plug your Kindle Fire 1 into a low-power USB 2.0 port on a laptop or desktop computer, not a wall charger. Leave it plugged in for 4 to 6 hours without touching it, and don’t try to turn it on during that time. The trickle charge method fixes roughly 45% of deep discharge issues with first-gen Kindle Fire units, so be patient and don’t unplug it early to check if it’s working. After 4 hours, unplug it, then hold the power button for 10 seconds to see if it turns on.
If that doesn’t work, try a hard reset to clear temporary firmware glitches that can block power response. Hold the power button down for a full 40 seconds, count out loud so you don’t cut it short, then release it. Wait 10 seconds, then press the power button again for 2 seconds to turn it on. This reset won’t delete any of your books, apps, or saved data, so it’s completely safe to try.
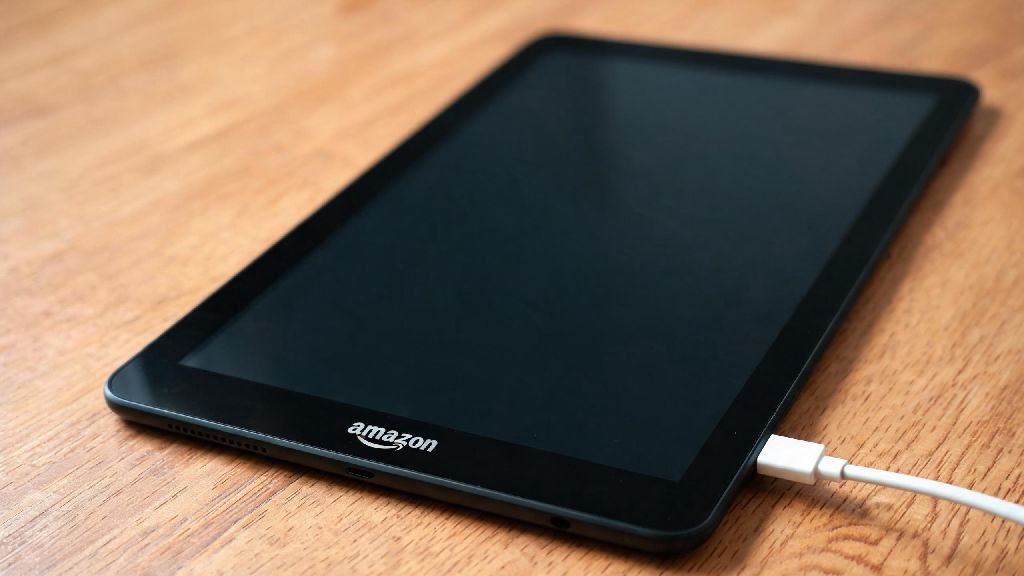
Next, try using an official first-gen Amazon Kindle Fire charging cable if you have one, or a basic 5V/1A rated USB cable. Only use cables rated for 5V/1A output for your first-gen Kindle Fire, as higher voltage chargers can damage the battery. Many modern third-party cables are designed for fast charging, and their internal wiring doesn’t match the old Kindle Fire’s pin configuration, so they won’t transfer power even if they fit in the port.
When to Stop Troubleshooting and Consider Replacement or Repair
If you’ve tried all the steps above and your device still shows no charging light and won’t turn on, you’re likely dealing with a hardware issue that requires replacement parts. The two most common hardware failures are a worn-out charging port or a dead battery that can no longer hold a charge. Both are relatively cheap to replace if you’re comfortable with small DIY repairs.
A replacement first-gen Kindle Fire battery costs between $10 and $15 online, and you can find free step-by-step video guides to walk you through the swap, which takes about 20 minutes. A replacement charging port costs less than $10, but it requires soldering, so it’s a bit more involved for beginners. If you use your first-gen Kindle Fire for rare offline reading, a DIY battery swap is worth the low cost, but if you use it daily, you may want to consider upgrading to a newer model with better battery life and current software support.
Stop troubleshooting immediately if your Kindle Fire feels swollen, hot to the touch, or has a strange chemical smell when you plug it in. These are signs of a damaged battery that poses a fire risk, and you should dispose of it properly at a local e-waste facility instead of trying to repair it. Never throw lithium-ion batteries in the regular trash, as they can catch fire in landfill or garbage trucks.
Most of the time, the kindle fire 1 not charging no light issue stems from a simple fix you can complete in 10 minutes or less, with no special tools or technical expertise required. I still use my own 12-year-old first-gen Kindle Fire to read cookbooks in my kitchen, and I’ve fixed the same no charging no light issue twice over the years with a quick port cleaning and a trickle charge. Don’t write off your old device right away—you might be surprised how easy it is to get it working again for years of extra use.